Mannlowe Ops - How to share files with external users
By Advait Sakhalkar on May 31, 2022
Beginner1. Finalise folder location
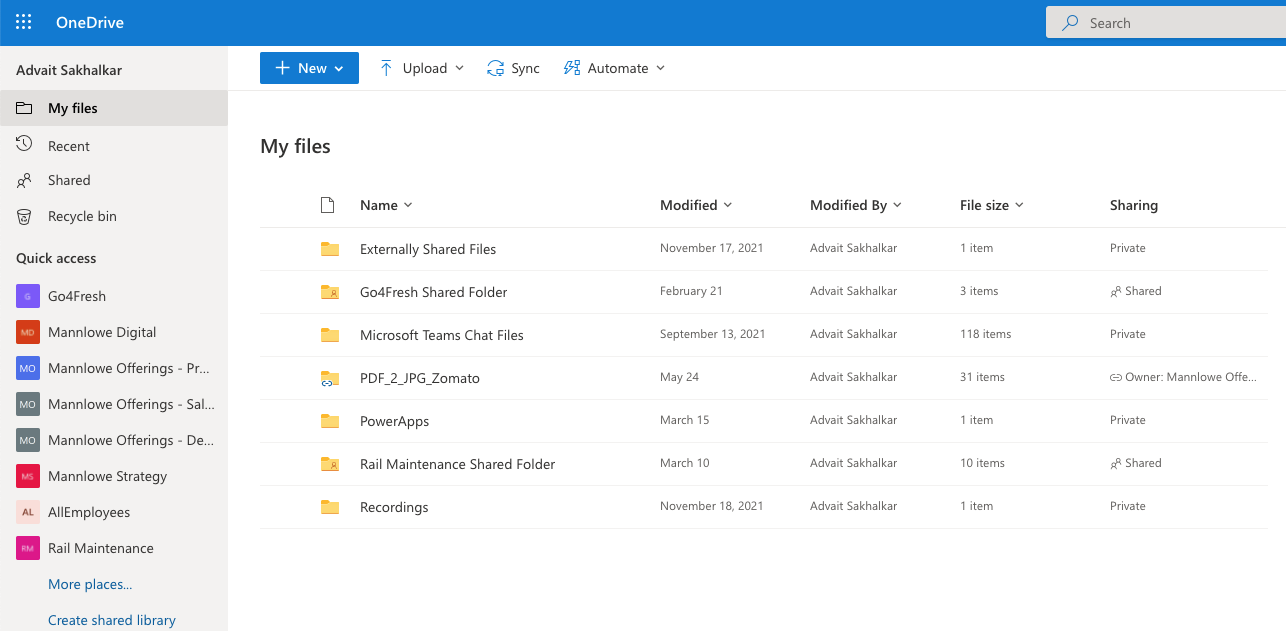
Wherever you place your folder it will default to the parent folder permissions. Consider where this folder may work best within your current workflow and if any sensitive information may be uploaded by a client.
For example, picture below shows multiple folders (namely "Go4Fresh Shared Folder", "Rail Maintenance Shared Folder") created to share with client or public.
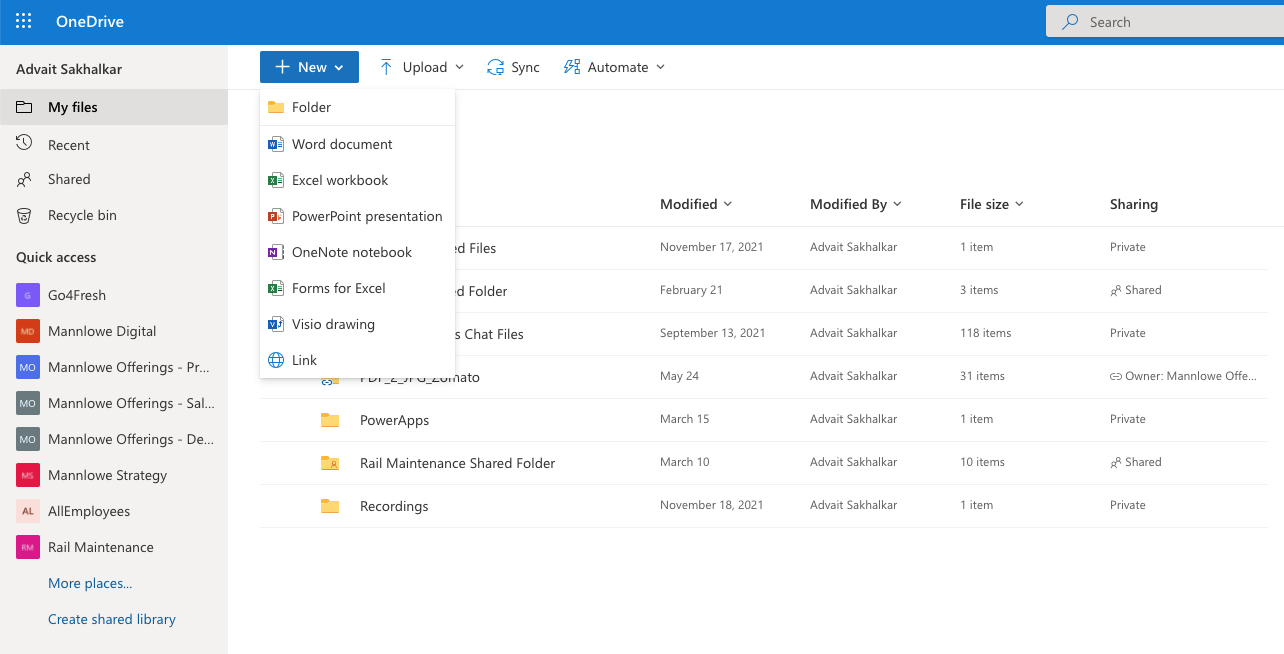
2. Create a new folder and review existing permissions
While in the page for your chosen location, click the plus new dropdown at the upper left and select folder. Name your folder with something that makes it obvious that this is a shared folder.
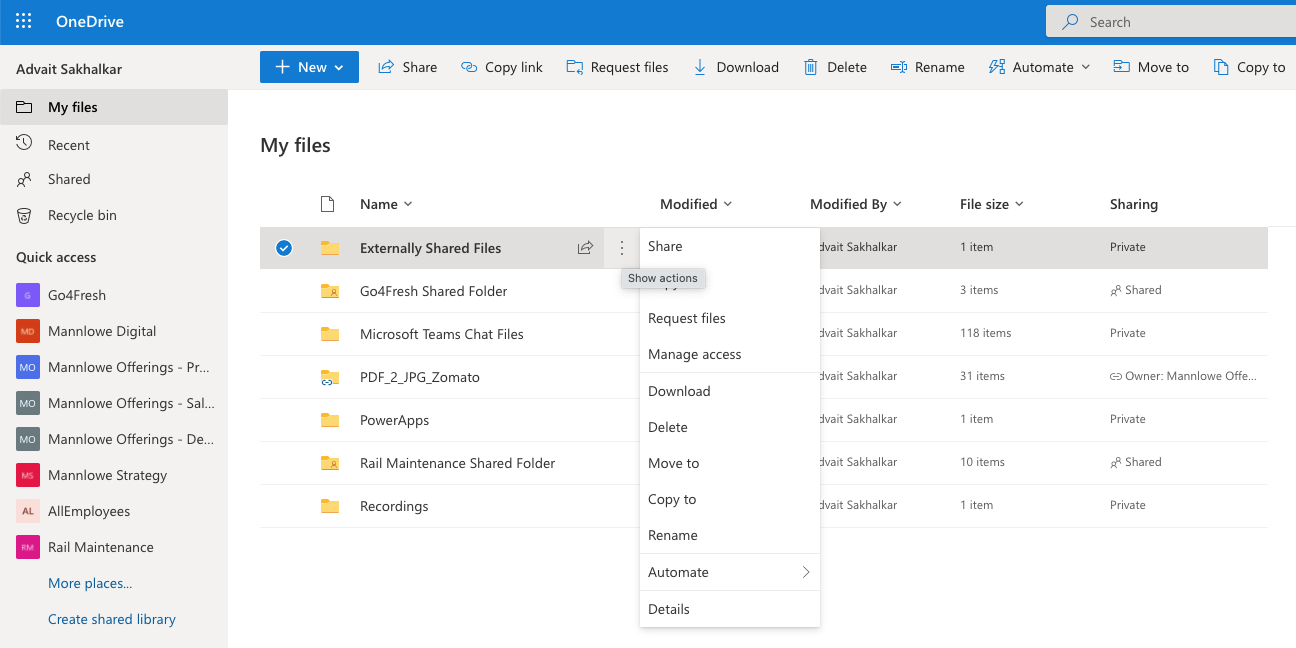
3. Manage access
- Click the three dots menu and click manage access
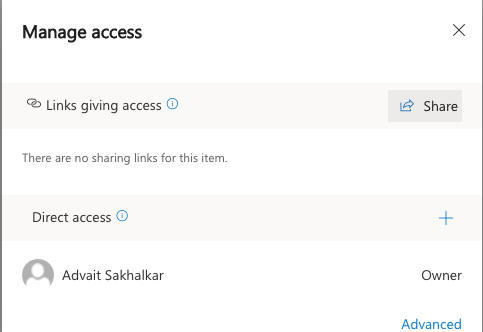
- Clicking Manage Access will bring up a quick menu with current view/edit permissions. It will let you know who can access and how much access they have. The example below shows which person or Team is the owner, and the pencil symbols represent if the groups specified can edit or just view.
- When you are ready to share this folder, you have a few options for how you share and what access you want to give. Click share at the top right of pop-up menu.
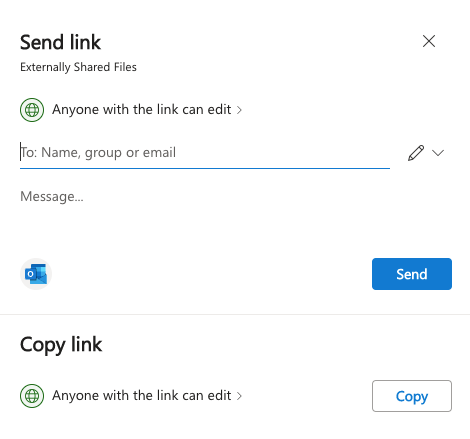
- Clicking Share will open pop-up with multiple ways to share the file. Click Anyone with the link can edit to share the file with external users
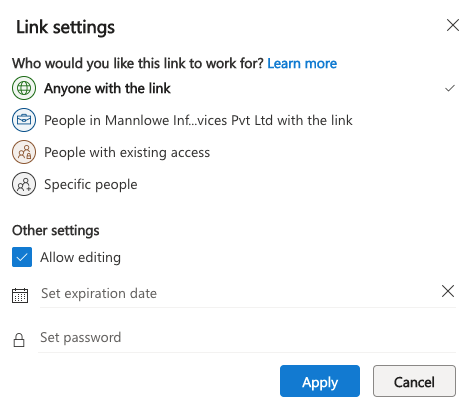
- Clicking Anyone with the link can edit opens more options about sharing the link. Select or unselect Allow Editing. Set expiration date to prevent misuse of the files. Click Apply to return to previous screen.
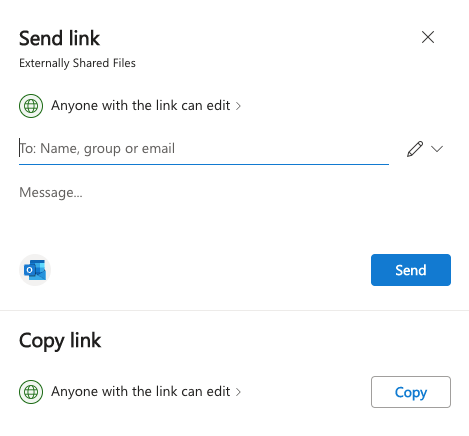
- Now that desired options are set. Click Copy to get link to share with external users. This link can then be shared via Em-mail, Messaging or any other medium of choice.
Was this article helpful?
No comments yet. Login to start a new discussion Start a new discussion